Build a Reusable Component with Django Cotton and AlpineJS
Learn how to build a reusable component with simple tools
If your work consists of building web apps for small businesses, you live in a wonderful time. Frameworks like React greatly facilitated UI development thanks to the concept of components. But the difficulty of maintaining React apps grows exponentially alongside your code base. React then becomes a necessary evil instead of a productive tool.
Luckily, the year is 2025. Thanks to Django Cotton, and lightweight frameworks like AlpineJS, you can now experience the same developer experience without the maintainance burden that comes with NodeJS projects.
In this post, I’ll show you how easy it is to build a reusable component for a modal.

See a full example in this Github repository
Setting up
Installing django-cotton is a simple matter of installing the package, then adding it to the list of INSTALLED_APPS.
In this post, I’ll also use htmx to render modals on the server.
Use this basic skeleton to start:
<!DOCTYPE html>
<html lang="en">

<head>
  <meta charset="UTF-8">
  <meta name="viewport" content="width=device-width, initial-scale=1.0">
  <title>Django Cotton + Alpine Modal Component</title>

  <script src="https://cdn.tailwindcss.com"></script>

  <script defer src="https://cdn.jsdelivr.net/npm/[email protected]/dist/cdn.min.js"></script>

  <script src="https://unpkg.com/[email protected]"
    integrity="sha384-HGfztofotfshcF7+8n44JQL2oJmowVChPTg48S+jvZoztPfvwD79OC/LTtG6dMp+"
    crossorigin="anonymous"></script>
</head>

<body>

  <div class="container mx-auto mt-96">
    <h1 class="text-2xl mb-6">Django Cotton + AlpineJS Modal Component</h1>
    <button hx-get="{% url 'text-modal' %}" hx-swap="beforeend" hx-target="body" type="button"
      class="p-3 border rounded-lg bg-sky-600 text-white mb-3">Show text modal</button>
    <button hx-get="{% url 'image-modal' %}" hx-swap="beforeend" hx-target="body" type="button"
      class="p-3 border rounded-lg bg-emerald-600 text-white">Show text modal</button>
  </div>

</body>

</html>
Notice that I added the AlpineJS script tag in the head, as well as TailwindCSS, which I’ll use for styling.
The component
You’ll use the HTML dialog element to implement the modal.
Create a folder called cotton in your templates directory. Inside it, create a file called modal.html containing the following code:
<c-vars title="Untitled" />
<dialog x-data @close-modal.window="$el.remove()" x-init="$el.showModal()"
  class="p-3 rounded-lg border max-h-screen overflow-auto w-11/12 lg:w-fit lg:min-w-96 max-w-screen-lg">
  <div class="flex flex-col gap-6">
    <header class="flex items-center justify-between">
      <h3 class="text-xl">{{ title }}</h3>
      <button x-data @click="$dispatch('close-modal')" type="button" class="text-slate-600">
        <svg xmlns="http://www.w3.org/2000/svg" width="24" height="24" viewBox="0 0 24 24" fill="none"
          stroke="currentColor" stroke-width="2" stroke-linecap="round" stroke-linejoin="round" class="lucide lucide-x">
          <path d="M18 6 6 18" />
          <path d="m6 6 12 12" />
        </svg>
      </button>
    </header>
    <main class="grow">
      {{ slot }}
    </main>
  </div>
</dialog>
First, you’ll designate the dialog element as an Alpine component by adding the x-data attribute.
Then, the x-init attribute is used to fire some code as soon as this component is rendered. Here, you will show the modal.
Finally, you’ll attach a listener for the close-modal event. It can be triggered from anywhere on the page, so you’ll catch it once it bubbles up to the window. See the button next to the title? Clicking on it will do that, closing the modal.
This component accepts a prop (in React parlance) called title. By default it’s set to Untitled. The c-vars element is aso useful in documenting the various props used throughout the component.
If you like, c-vars could be considered similar to prop types where you define the dependencies for a component.
Finally, we use a slot where we will render content for the modal. This is powerful because we can render any kind of HTML inside when instantiating the component.
Using the component
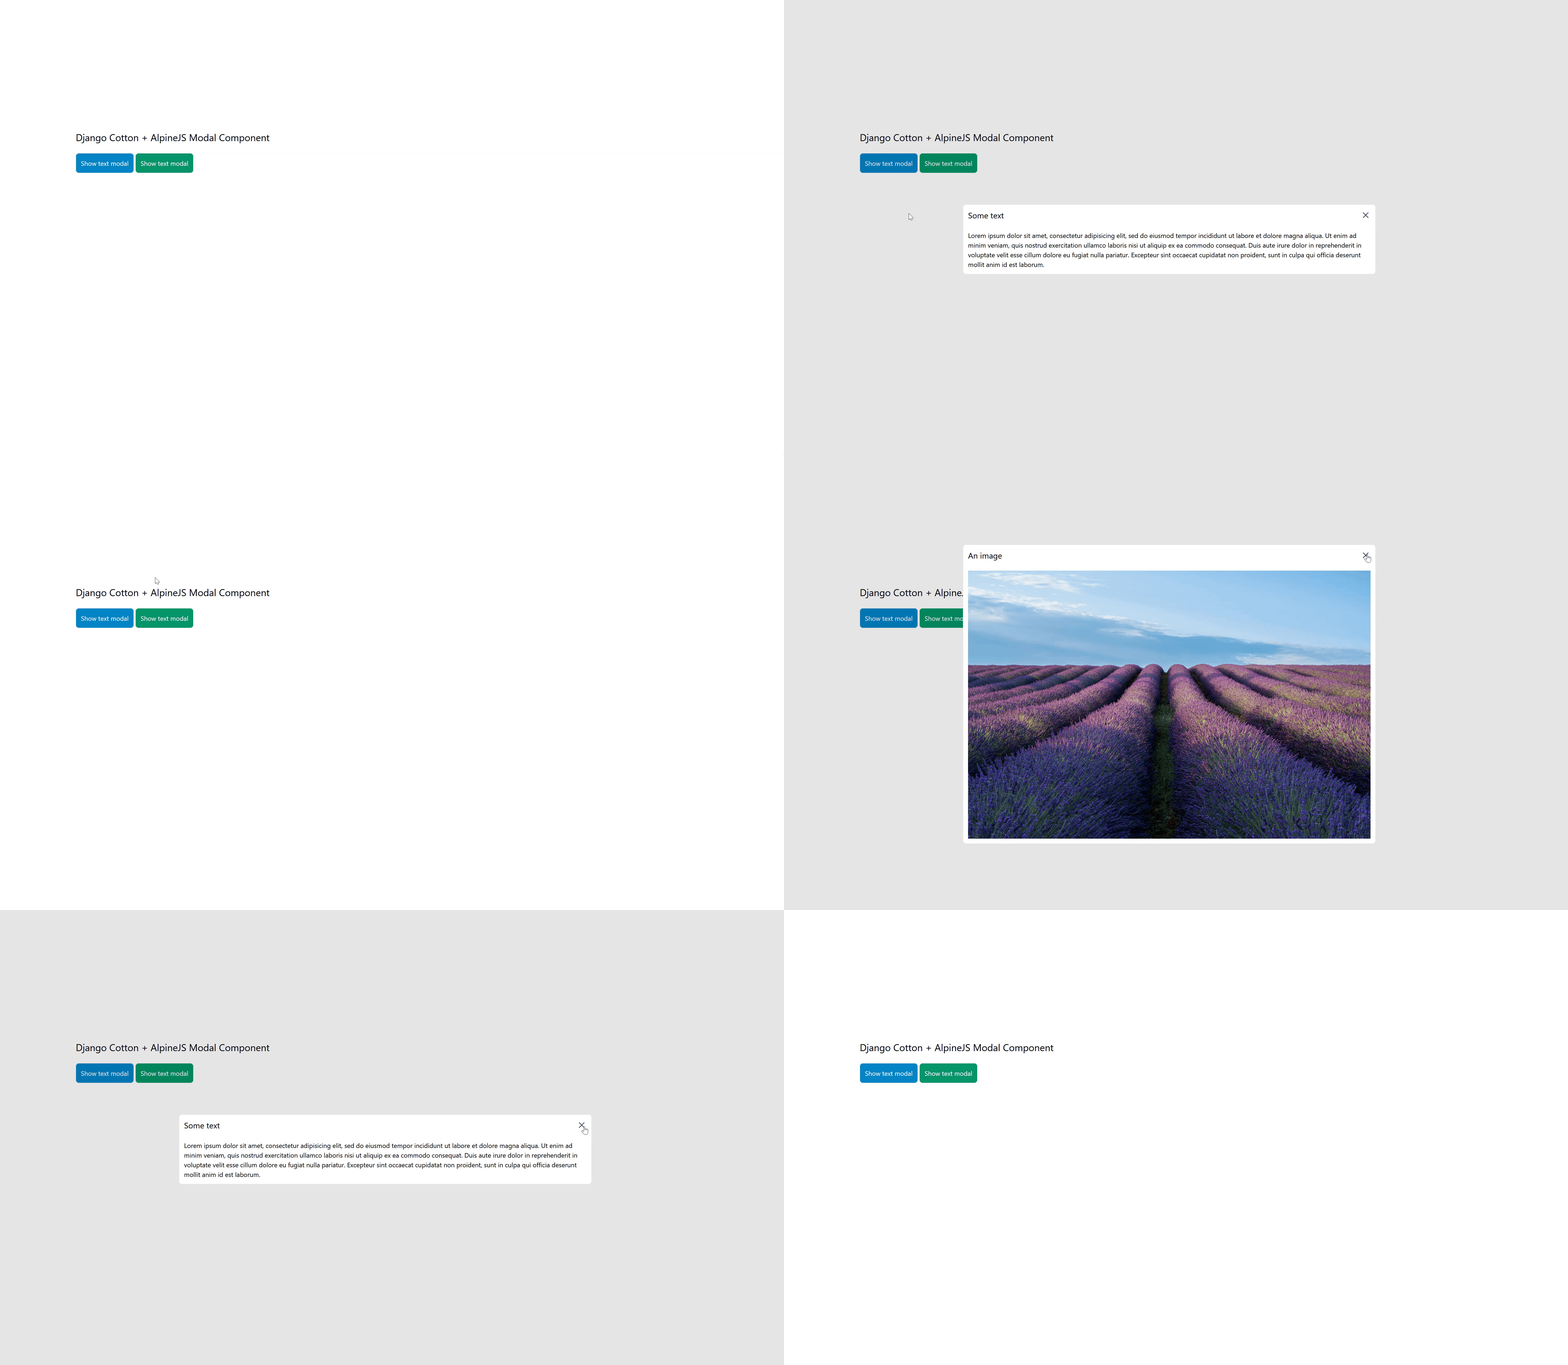
Here’s a modal that shows some text:
<c-modal title="Some text">
  {% lorem %}
</c-modal>
And one that shows an image:
<c-modal title="An image">
  <img
    src="https://images.unsplash.com/photo-1733690577845-4f4641a456b3?q=80&w=3870&auto=format&fit=crop&ixlib=rb-4.0.3&ixid=M3wxMjA3fDB8MHxwaG90by1wYWdlfHx8fGVufDB8fHx8fA%3D%3D"
    alt="Photo by le Sixième Rêve on Unsplash">
</c-modal>
As soon as htmx swaps the HTML in the DOM, Alpine will execute the code we defined in the x-init attribute, which executes the showModal method on the dialog. The component can be reused on any page. You can display CRUD forms inside modals, or any other kind of content rendered from your Django views.
Too simple?
Right now you must be thinking: “That’s it?”. Yes, that’s it. With a few lines of code, you’re able to build a modal component that you can reuse throughout your app.
I said “a few lines of code”, but notice the lack of custom code apart from the simple statements inside the HTML attributes. This allows you to skip writing tests as well, which is code that traditionally needs to be written, and maintained.
The complexity level is zero. These are truly great times for small businesses with small teams, or even single developers because we can leverage these simples tools to buid complex UIs without them turning into a maintainance nightmare after a few weeks.
Of course, the flexibility is nowhere near what React offers. But maybe the tradeoffs will allow you to release features of the same quality at a lower cost. Partly because you’re able to use the full power, and security, of a full-stack framework like Django instead of being forced to turn it into an API factory for your front-end app.
Both Alpine and Django Cotton can do many more than what I showed in this post. I encourage you to dig into their documentation to see what you can build.
💡 Need a Developer Who Gets It Done?
If this post helped solve your problem, imagine what we could build together! I'm a full-stack developer with expertise in Python, Django, Typescript, and modern web technologies. I specialize in turning complex ideas into clean, efficient solutions.
